There were several events going on in the area that weekend so hotel rooms were at a premium. I managed to get a room at the Western Inn. All I can say is DON'T!!!! It was the most disgusting motel I have ever been to and the guy at the front desk kept changing his story. Did manage to get my money back and found another room in town.
My first order of business was to stop by N.J. Sekela to be measured for a new pair of shoes. I chose red velvet with black foxing, lacing up the inside. I can't wait for them to be done. I then went to dinner at Cashtown Inn.
Prior to the class, we selected which cage kit we wanted and the size. The "old" kit is less authentic but much more durable....
while the "new" kit looks really nice but is a bit more fragile.
Since I am a klutz, I chose the "old" kit at 108 inches. But each kit is basically constructed the same other than the way they are fastened.
Carolann's classes start with a lecture on the class topic. Then down to work.
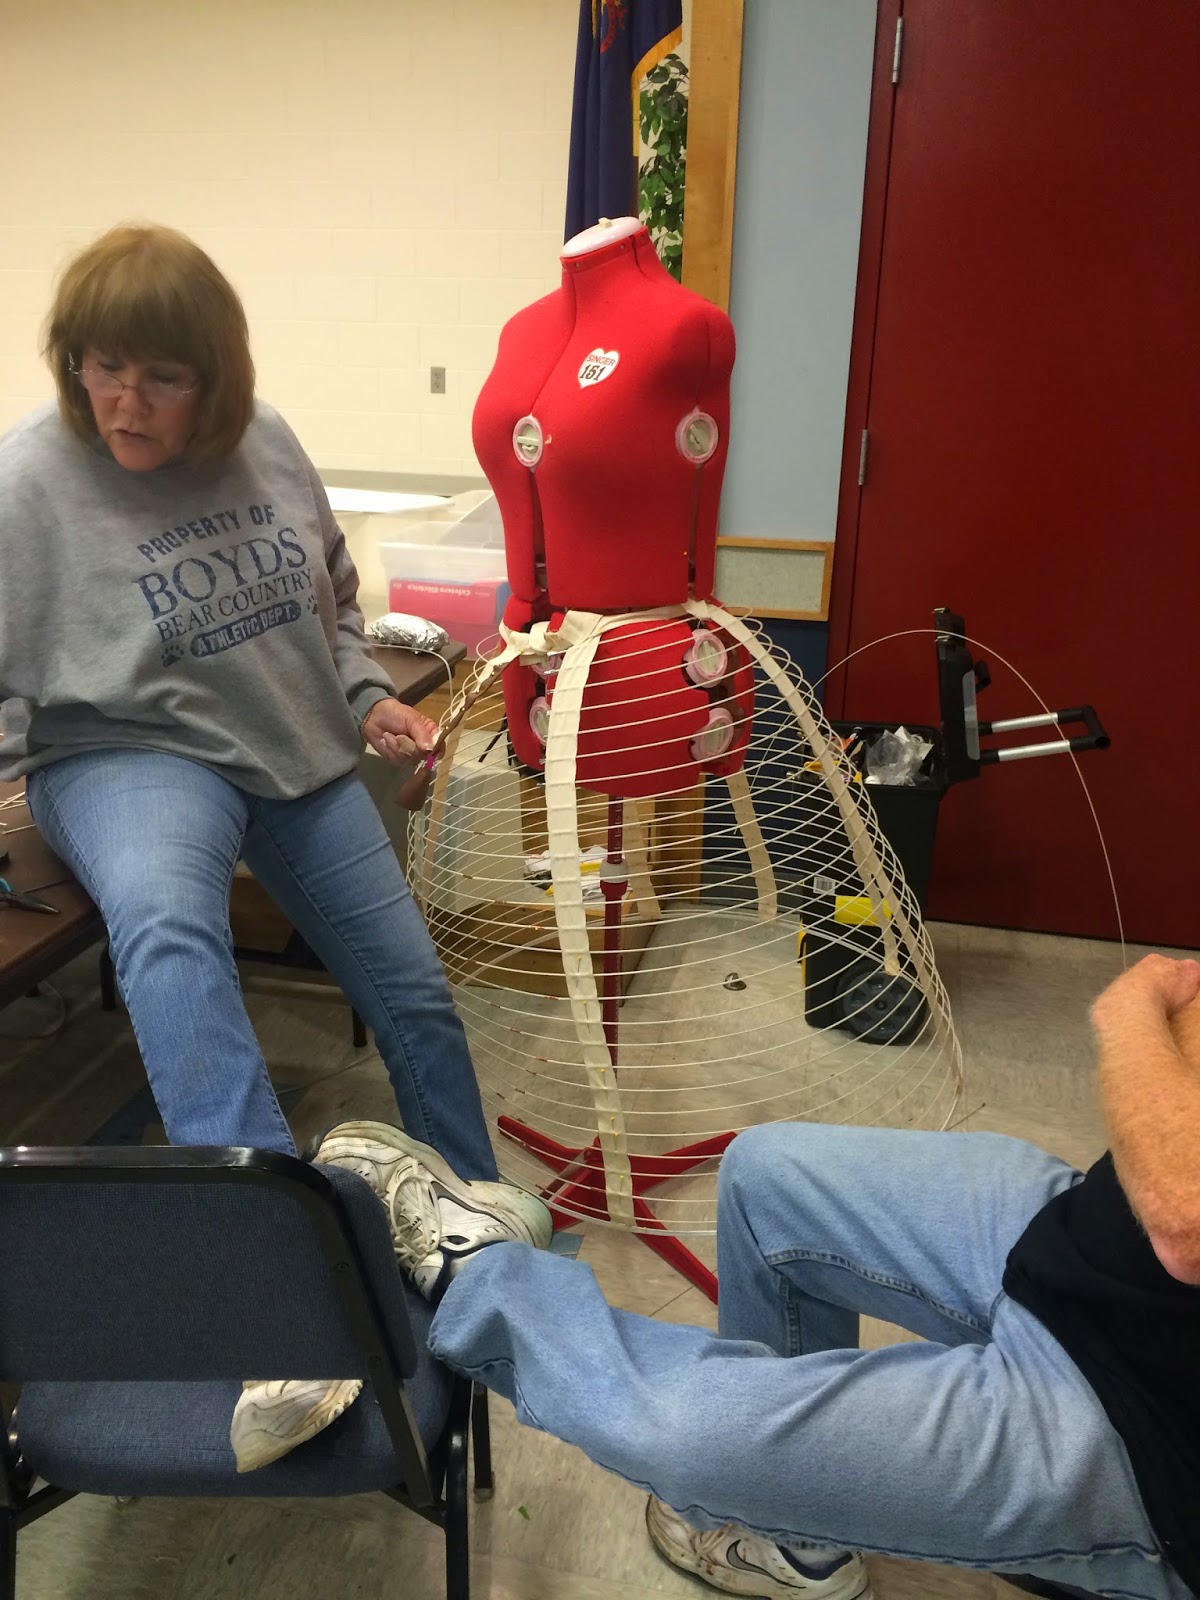
The first step was to cut the tapes and wires the necessary length. Carolann provides the correct dimensions based on your cage size in her handouts. The waistband is constructed and the tapes pinned in at the correct locations. The tapes have small inserts into which the wires can be inserted.
Wires continue to be inserted until you reach the top. The front of the cage is left open for lacing.
The front wires are cut flush and a binding is attached. The new kits use leather.

The wires are secured with brass brads; the new kits use a different type of fasteners.

Once all wires are secured, eyelets are placed into the front binding and laces added.
The laces are tied too tight in this photo. A buckle is added to the waist band and you're done. Following are some photos of completed or almost completed cages.

This class was a lot of fun and I'm so glad I went. If you get a chance to go to one of Carolann's workshops, you need to! Next on my list is the corset class in April!


1 comment:
I am so jealous! I hope you are enjoying it up there.
Post a Comment